Implementing using Google Tag Manager
You need to implement your tracking code before you can begin using Smartlook. One of the easiest methods is using Google Tag Manager.
Implementing Google Tag Manager
You first need to install Google Tag Manager in your project. Then, to implement your tracking code, you can:
- use the Smartlook Tag Template
- create a custom HTML tag
Smartlook Tag Template
- Copy your Smartlook project key from your Project settings.
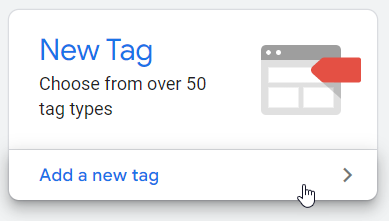
- In your Google Tag Manager, click Add a new tag.
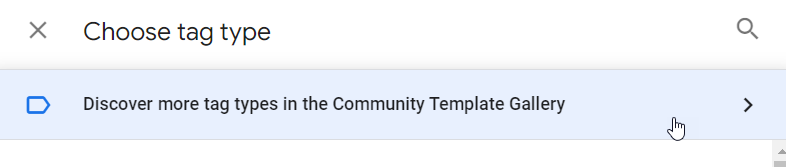
- Click Tag Configuration.
- Click Discover more tag types in the Community Template Gallery.
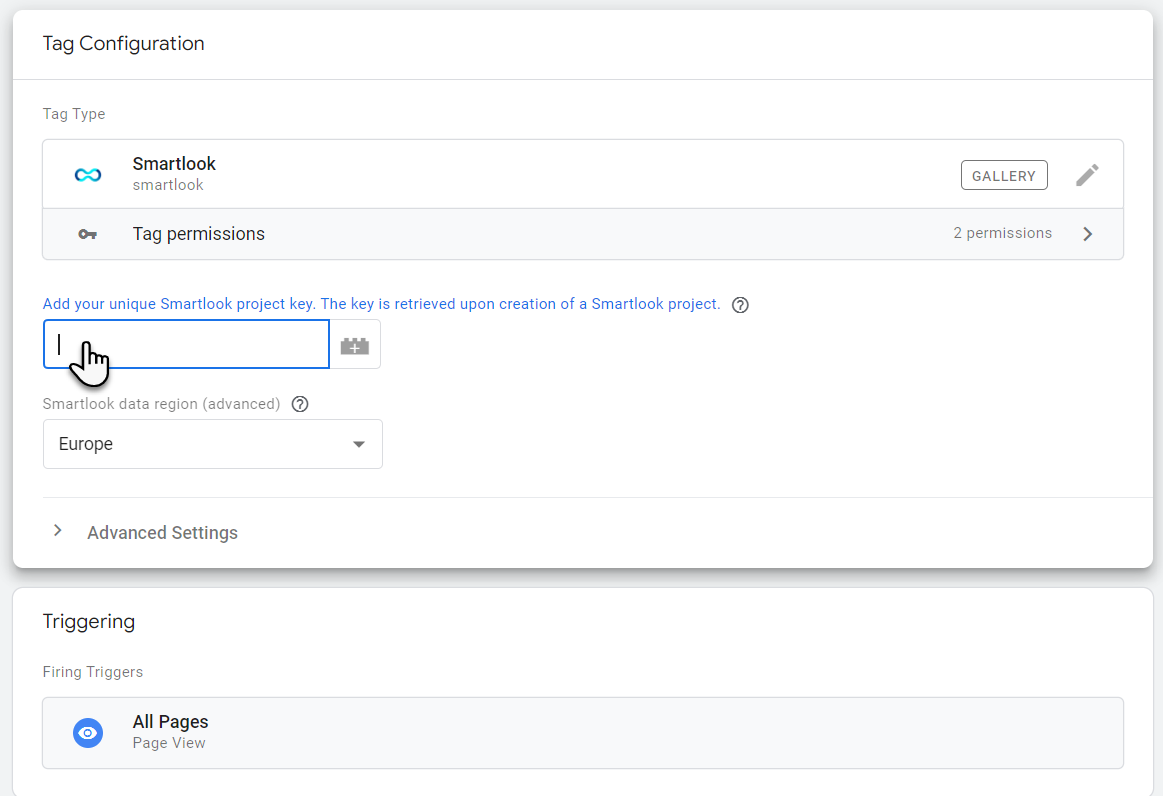
- Search for Smartlook and click it.
- Click Add to workspace, and then Add.
- Paste your project key in the field.
- Click in the Triggering box and select All Pages, and then Add. To add Smartlook to only certain pages of your project, see Adding Smartlook only to certain pages.
- Click Save.
- Back on the Google Tag Manager dashboard, click Submit, and then Publish.
You can skip the final step. Smartlook is now implemented in your project.
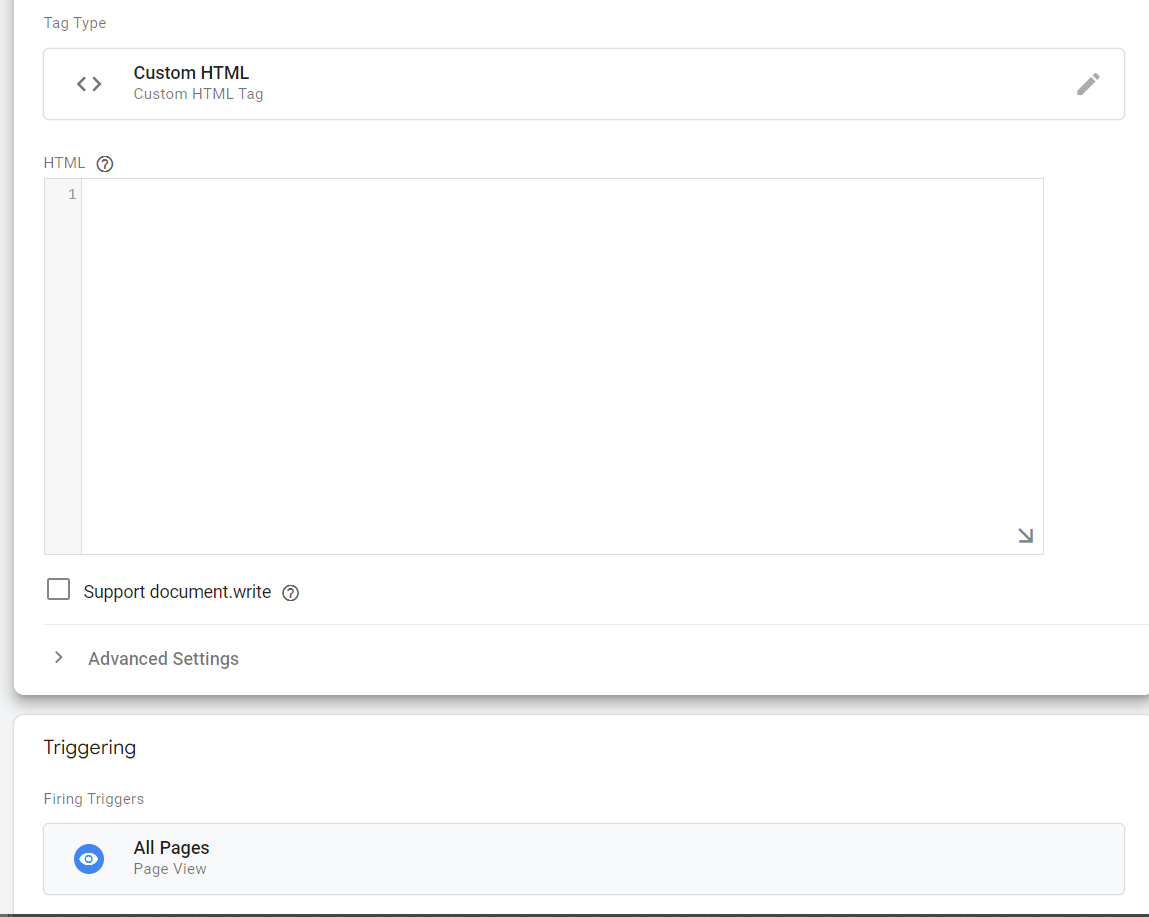
Creating a custom HTML tag
- Copy your tracking code from your Project settings.
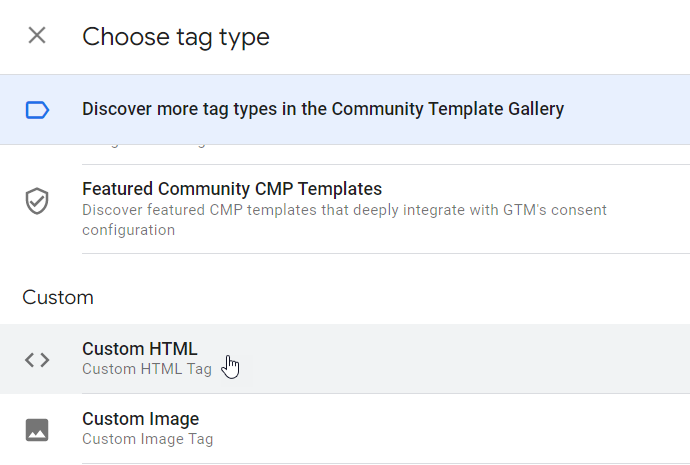
- In your Google Tag Manager, click Add a new tag.
- Choose a Custom HTML tag.
- Enter a title and paste the tracking code in HTML.
- Under Triggering, select All pages.
- Click Save, give the tag a name, and click Save again.
- Back on the Google Tag Manager dashboard, click Submit, and then Publish.
You can skip the final step. Smartlook is now implemented in your project.
Finishing implementation
Once your tag is set up in Google Tag Manager, refresh your website and you're all set.
Adding Smartlook to certain pages of your project
To add Smartlook only to certain pages of your project, follow steps 1-7 in Implementing Google Tag Manager, and then continue below.
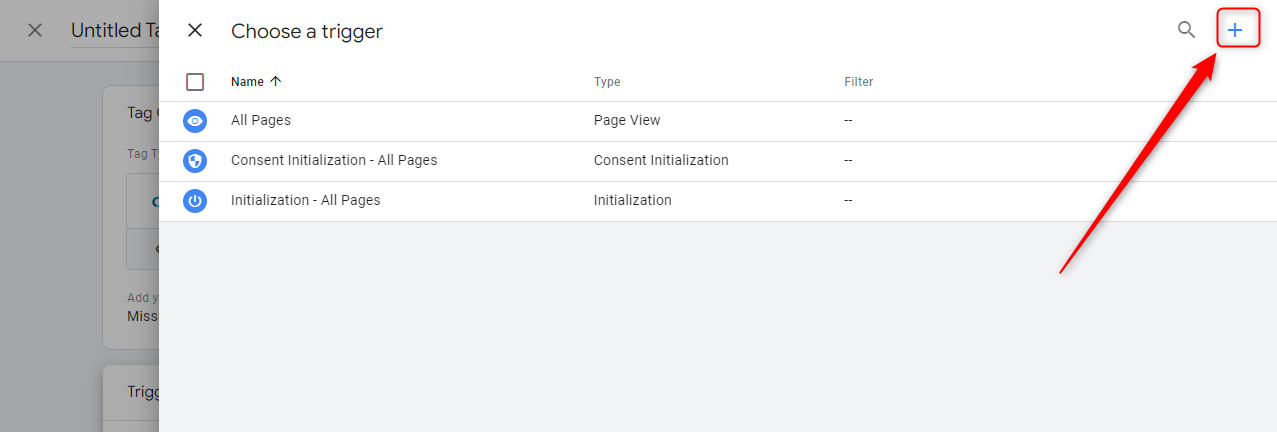
- Click in the Triggering box.
- Click the + in the top right corner of the screen.
- In Trigger Type, select Page View.
- Enter the pages you want to track.
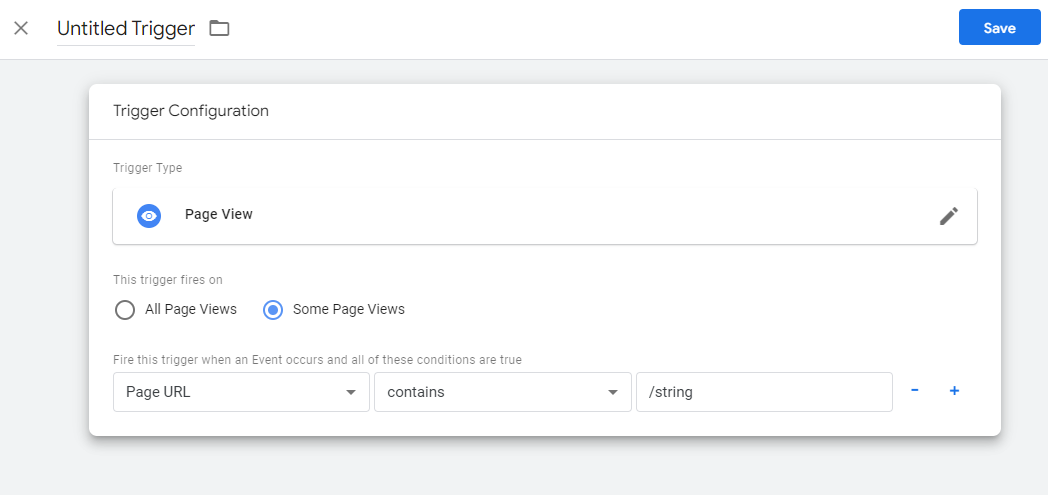
- Click Save.
- Back on the Google Tag Manager dashboard, click Submit, and then Publish.
You can skip the final step. Smartlook is now implemented in your project.
Updated 11 months ago
Did this page help you?