Tracking custom events with Google Tag Manager
You can use Google Tag Manager to track custom events you set up in your Smartlook account.
To track Smartlook custom events with Google Tag Manager (GTM), you must:
- implement Smartlook in your project
- Implement the Identify API in your project
- deploy a Google Tag Manager container in your project
Tracking custom events with Google Tag Manager
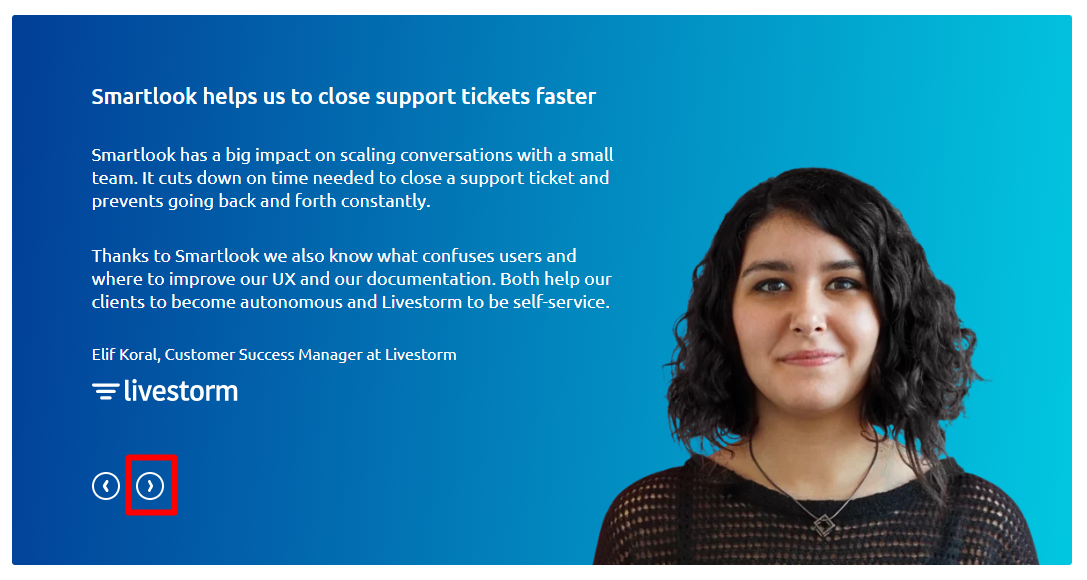
In the following example, we are creating a tag in GTM for a custom event set up for the right arrow button on the testimonial page.
To track custom events with Google Tag Manager:
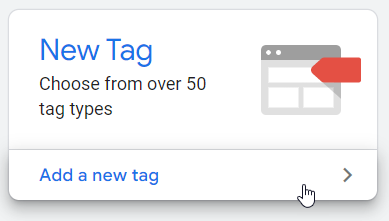
- In GTM, Add a new tag.
- Choose Custom HTML tag.
- Define the tag as needed. Be sure the HTML contains the Smartlook custom events script.
<script> smartlook('track', 'HP_Testimonial_Arrow_Right_Click'); </script> - Click Triggering to define a trigger.
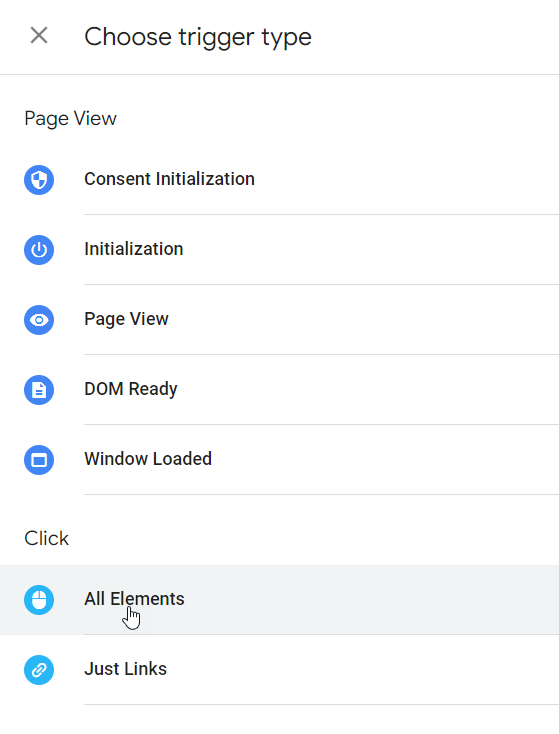
- Click the
+to add a trigger. - Under Click, select All Elements.
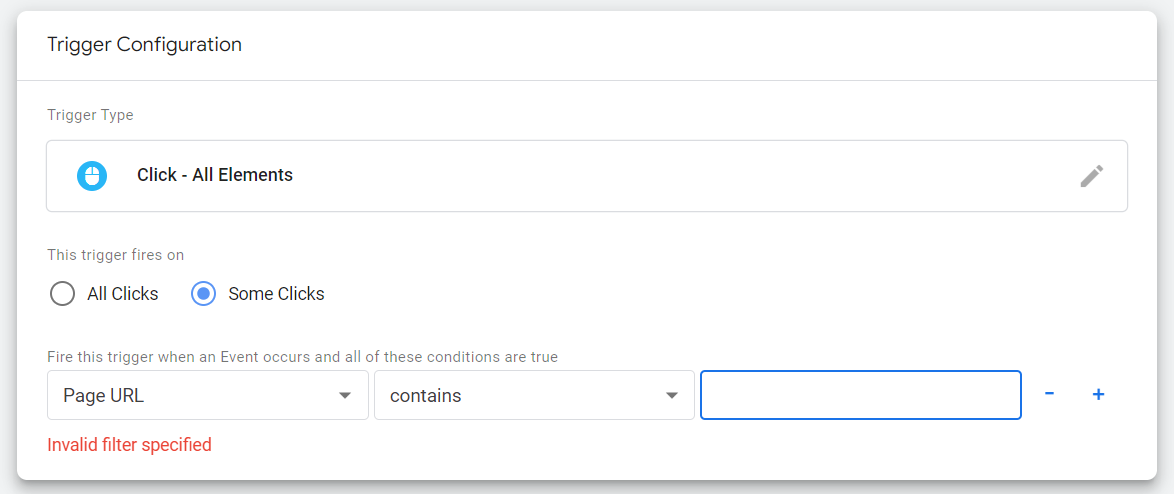
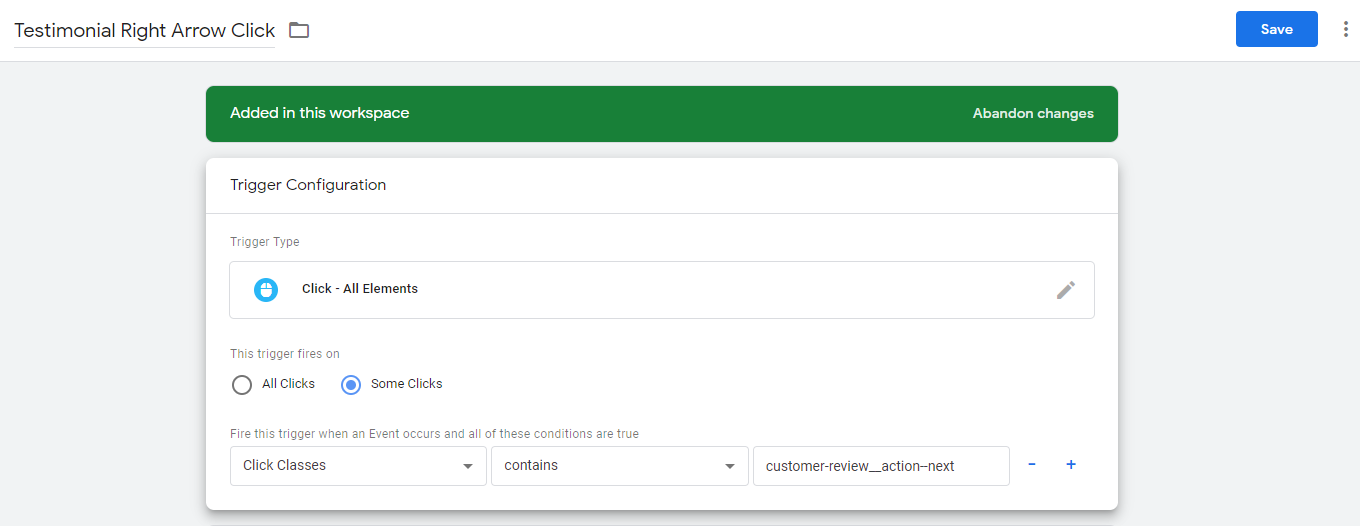
- In Trigger Configuration, choose Some clicks.
- Select Page URL, Contains, and the page URL where you have the custom event.
- Click Save to save the new tag.
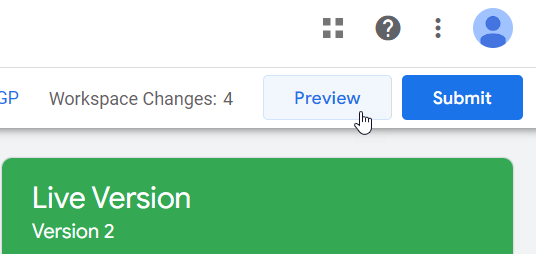
- Click Preview to go into GTM Preview Mode.
- While in Preview Mode, go to your website in another tab. You should see the debug tab.
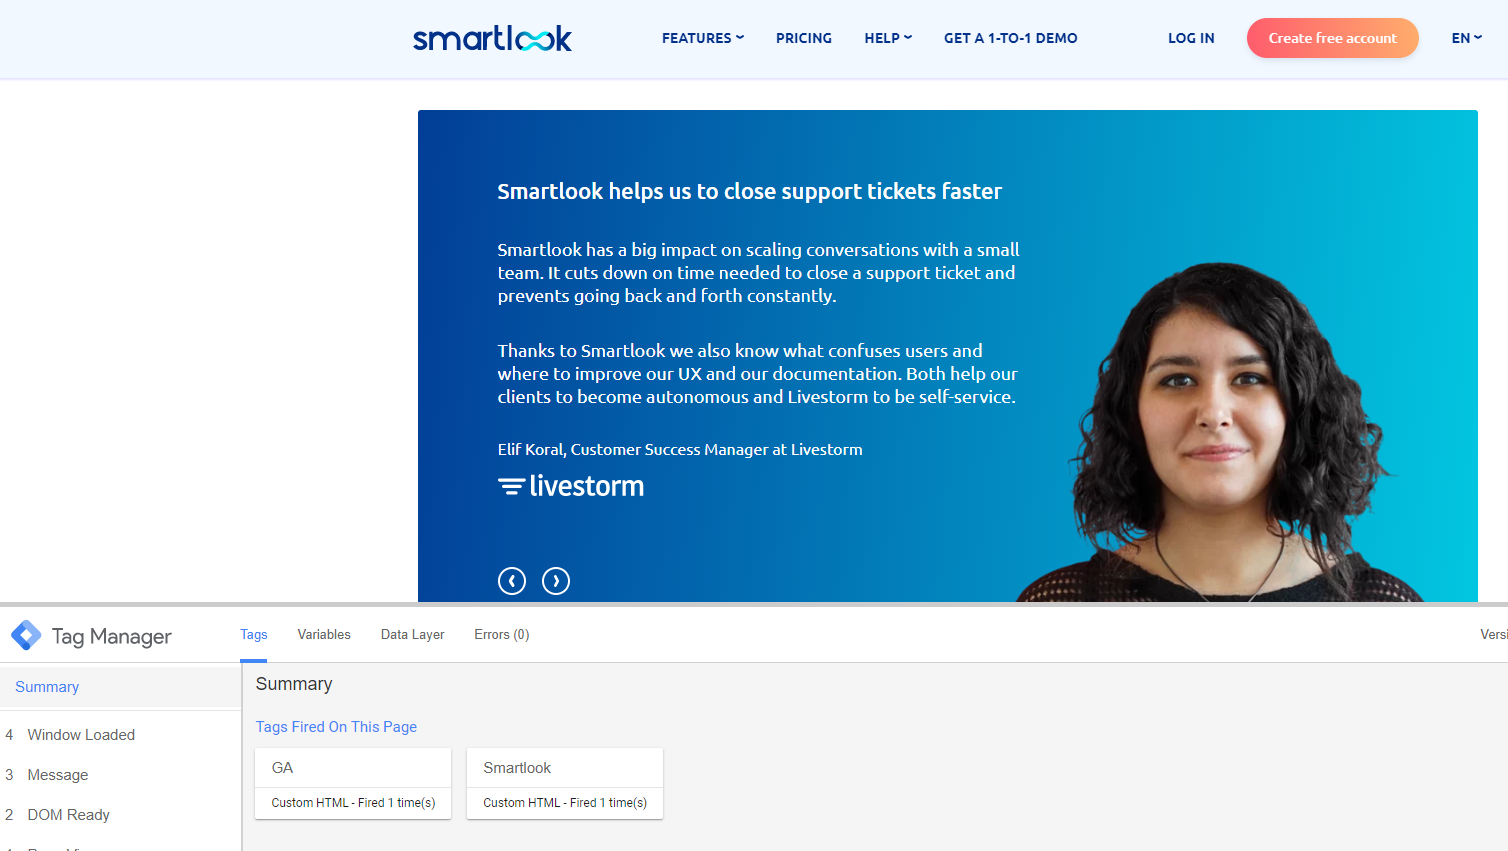
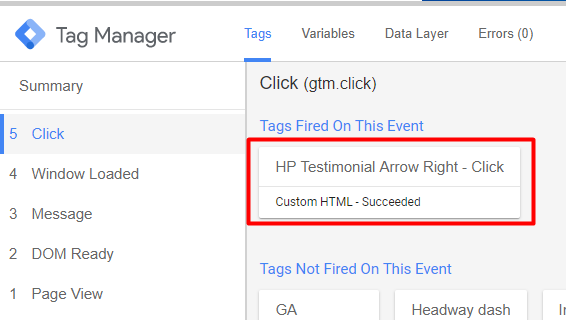
- The Summary panel lists all actions that GTM listens for on your website. If the tag is set up correctly, Click appears in the Summary panel. If you click the event, you can see the tag that was fired.
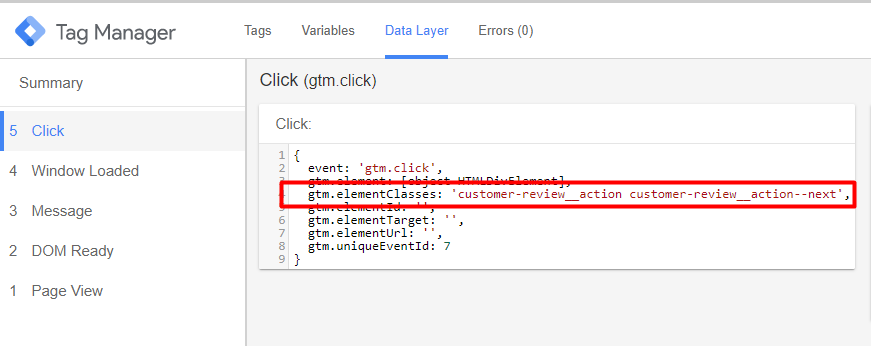
- Click the Data Layer tab to get element data for the trigger.
- Go back to the workspace in GTM and click the Variables tab.
- Click Configure.
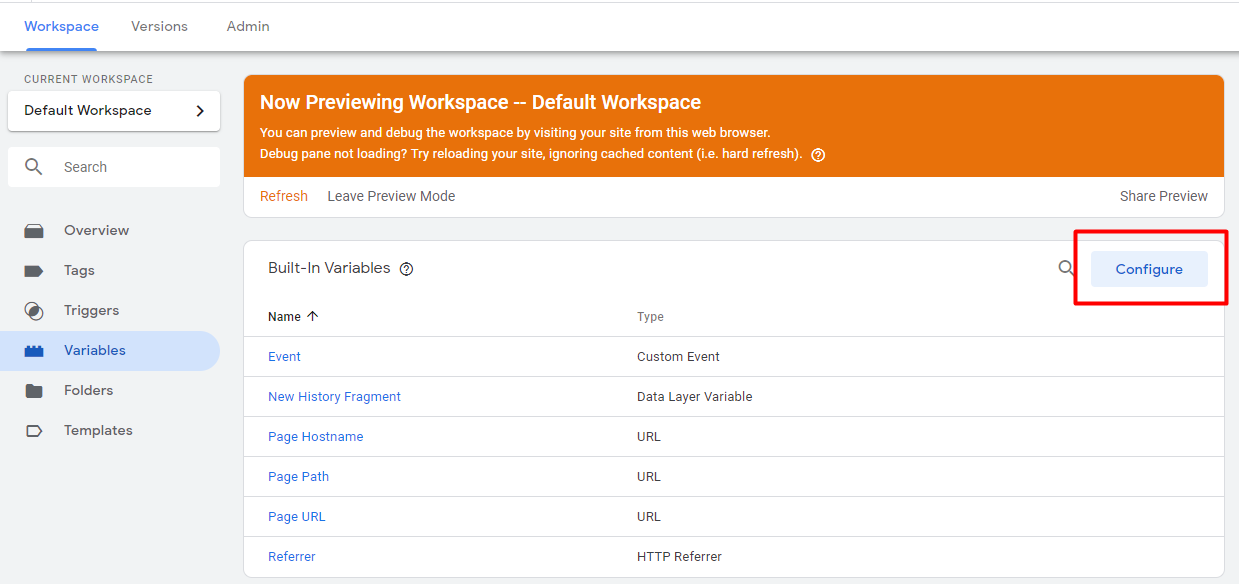
- In the Configure Built-In Variables panel, check the Click Classes checkbox.
- Click the Triggers tab.
- Open the trigger for the custom event for editing.
- Select Click Classes, Contains, and enter the element class customer-review__action--next that we found earlier in Preview Mode.
- Click Save.
- Refresh your workspace. You can now open your project in Preview Mode again to check if the custom event is set up correctly.
Updated 10 months ago
Did this page help you?