Relay proxy
The Smartlook relay proxy relays HTTP requests from your subdomain to Smartlook's recording domains, allow you to bypass potential browser settings or extensions configured to limit data capture. You will have to have access to your server. If you do not have access to your server, contact your developer.
The Relay Proxy is developed as an open source project. If you are experiencing an issues, be sure that you are using the most recent version of the relay proxy. If the issues persist, go to the Smartlook Relay Proxy GitHub to open an issue, or contact our support.
You can also visit the open source Smartlook relay proxy GitHub repository.
Web-based projects supportedThe Smartlook relay proxy only supports web-based projects.
Installation and deployment
To install and deploy the Smartlook relay proxy:
- Go to Docker Hub to get the Smartlook relay proxy image.
- Run the image and configure environment variables to your needs.
docker run --name="smartlook-relay-proxy" -d \ # can be also set with "--env-file" -e LOGGER_LEVEL=<level> \ -e MANAGER_HOST=<host> \ -e WEB_SDK_WRITER_HOST=<host> \ -e ASSETS_PROXY_HOST=<host> \ -p <port>:8000 \ # mapping is optional, internally runs on port 8000 smartlook/relay-proxy:latest - Create a subdomain and point it to the container. It is best to use a subdomain of your website's domain.
- Deploy the following script. Be sure to replace any URLs with your own URLs. Do not set
region.<script> window.smartlook || (function (d) { var o = (smartlook = function () { o.api.push(arguments) }), h = d.getElementsByTagName('head')[0]; var c = d.createElement('script'); o.api = new Array(); c.async = true; c.crossOrigin = 'anonymous'; c.type = 'text/javascript'; c.charset = 'utf-8'; c.src = 'https://<your-relay-proxy-host>/recorder.js'; h.appendChild(c); })(document); smartlook('init', <project-key>, { host: '<your-relay-proxy-host>' }); </script>
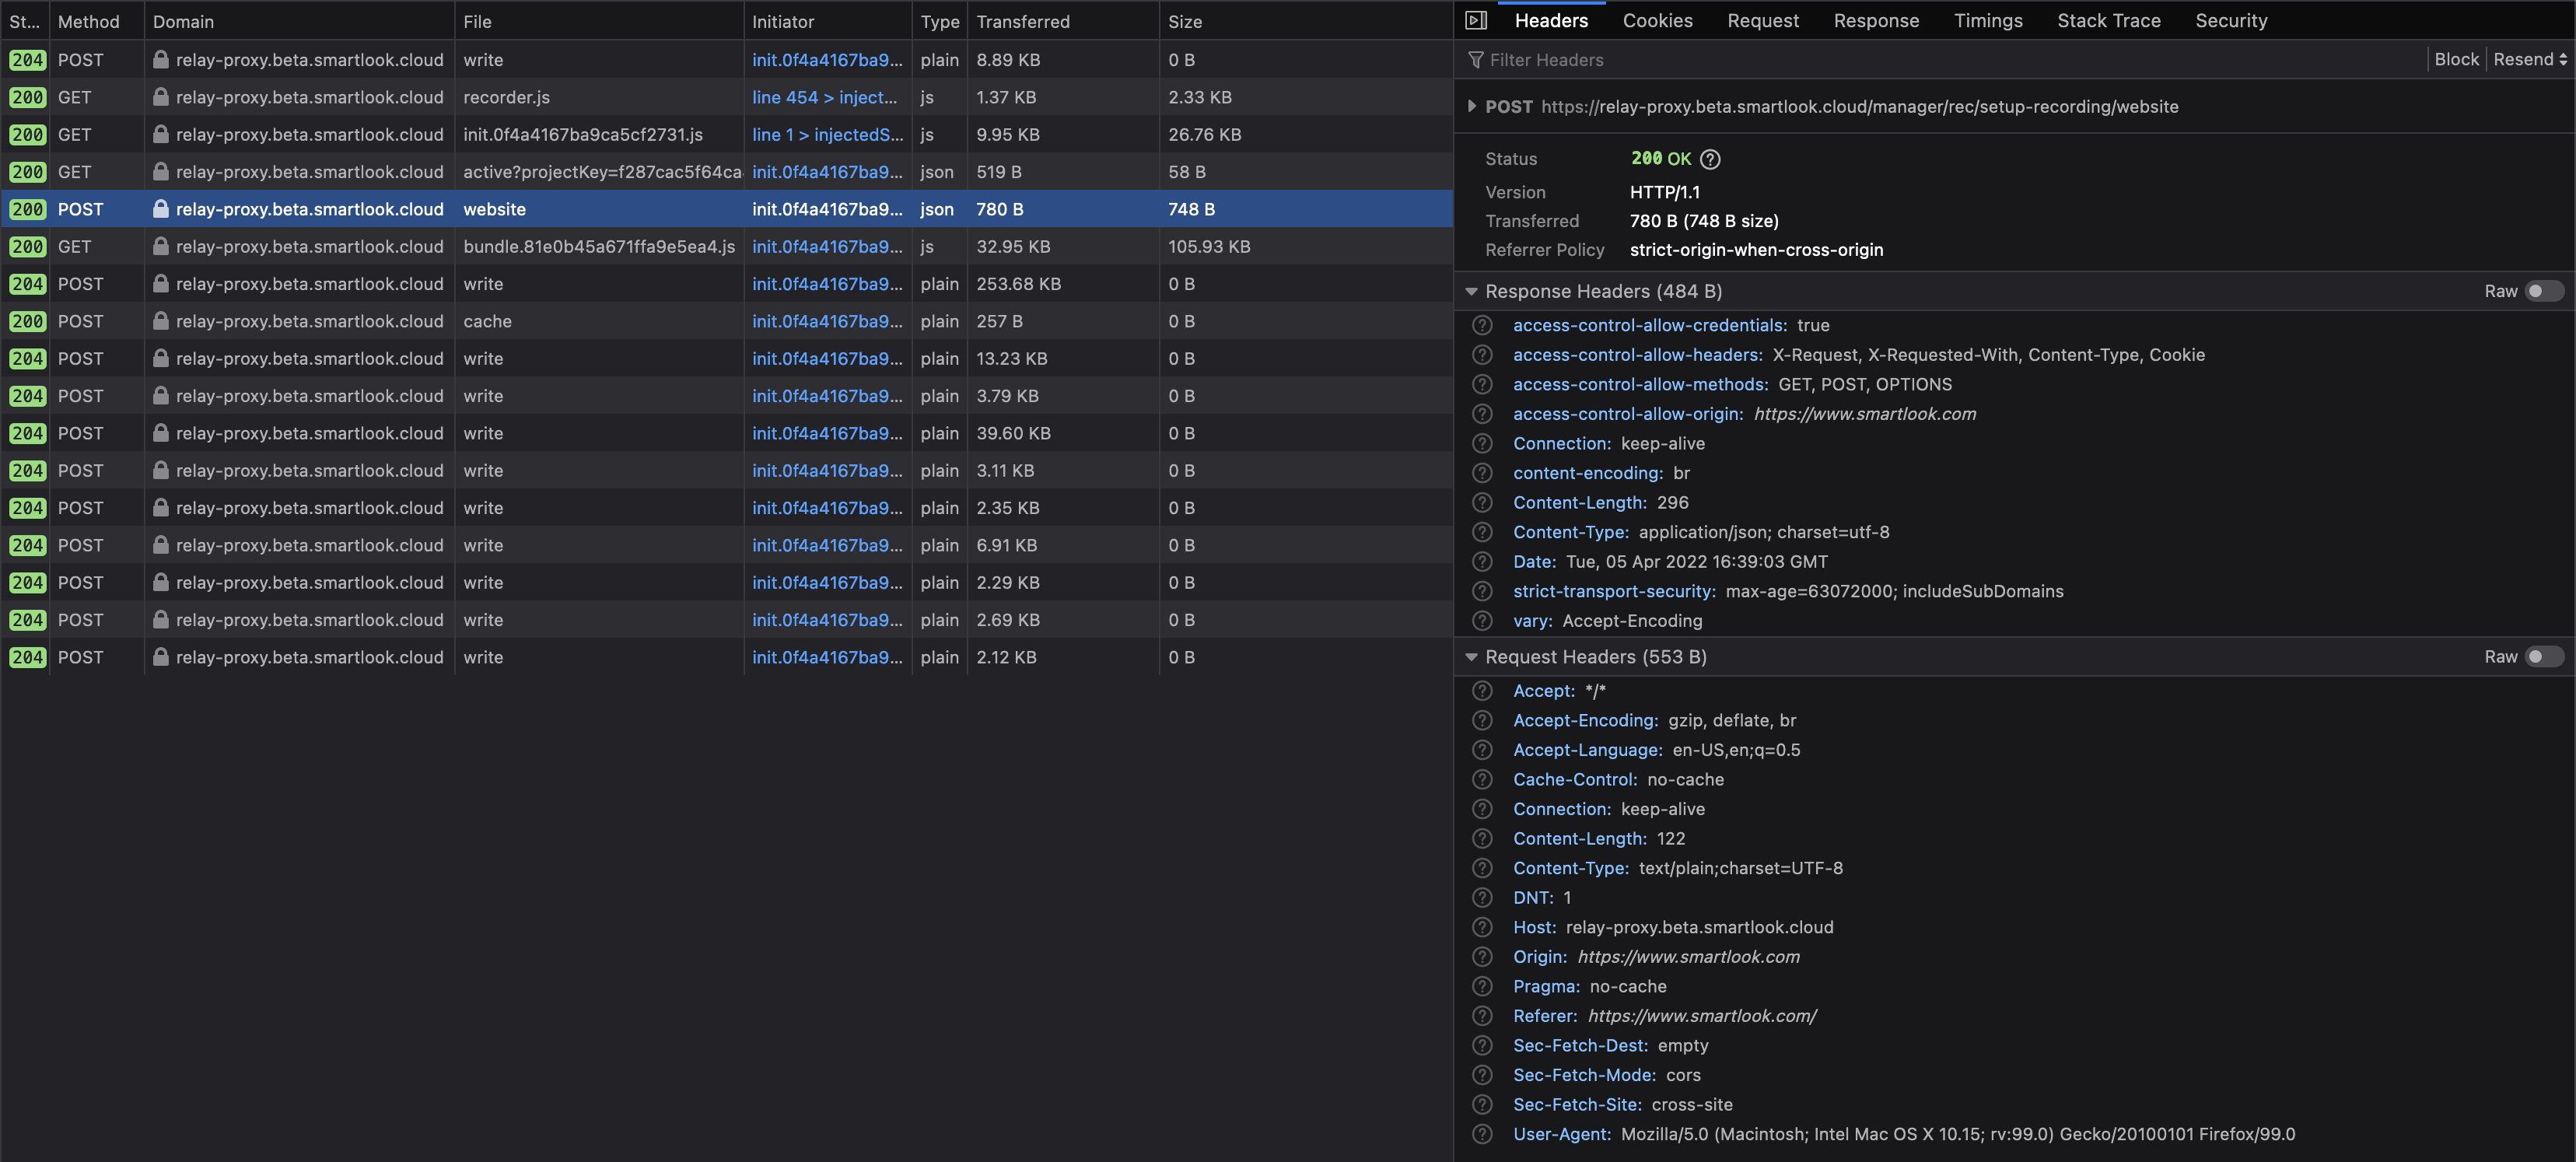
You have now installed and deployed the Smartlook relay proxy. You can check if the relay proxy is working correctly by seeing requests sent through your subdomain in the Network tab of your browser DevTools.
Environment variables
All variables are optional. The default values are listed in the table:
| Name | Type | Default value | Description | Notes |
|---|---|---|---|---|
LOGGER_LEVEL | string | info | One of:trace, debug, info, warn, error, fatal, silent | Can be overridden |
MANAGER_HOST | string | https://manager.eu.smartlook.cloud | Smartlook manager host | Only edit this value if using a region other than EU, or if instructed by customer support |
WEB_SDK_WRITER_HOST | string | https://web-writer.eu.smartlook.cloud | Smartlook web writer host | Only edit this value if using a region other than EU, or if instructed by customer support |
ASSETS_PROXY_HOST | string | https://assets-proxy.smartlook.cloud | Smartlook assets proxy host | Only edit this value if using a region other than EU, or if instructed by customer support |
PROXY_PORT | number | 8000 | Port where the HTTP server listens | Can be overridden |
Regional setup
Smartlook offers two regions for data storage: EU and US. By default, all projects are set to the EU region. To change your data storage region, contact Smartlook Support.
If your project is set to the US data region, you need to set the variables as follows:
| Name | Value |
|---|---|
MANAGER_HOST | https://manager.us.smartlook.cloud |
WEB_SDK_WRITER_HOST | https://web-writer.us.smartlook.cloud |
ASSETS_PROXY_HOST | https://assets-proxy.us.smartlook.cloud |
If most of your visitors are located in a different region, you can set environment variables to reduce network latency. Smartlook servers are located in four regions:
- EU (Frankfurt)
- North America (Oregon)
- South America (São Paulo)
- Asia (Singapore)
To set up for other regions:
South America
Only possible if WEB_SDK_WRITER_HOST is available:
| Name | Value |
|---|---|
WEB_SDK_WRITER_HOST | https://web-writer.br.smartlook.cloud |
Asia
Only possible if WEB_SDK_WRITER_HOST is available:
| Name | Value |
|---|---|
WEB_SDK_WRITER_HOST | https://web-writer.sg.smartlook.cloud |
License
Updated 11 months ago