Installation and usage
This service relays HTTP requests from your subdomain to
Smartlook's recording domains, allowing you to bypass potential browser settings or extensions used by your visitors configured to limit data capture.
SupportOnly web recording is currently supported.
Environment variables
| Name | Type | Default value | Description |
|---|---|---|---|
LOGGER_LEVEL | string | 'info' | One of trace, debug, info, warn, error, fatal, silent |
MANAGER_HOST | string | 'https://manager.eu.smartlook.cloud' | Smartlook Manager host |
WEB_SDK_WRITER_HOST | string | 'https://web-writer.eu.smartlook.cloud' | Smartlook Web Writer host |
ASSETS_PROXY_HOST | string | 'https://assets-proxy.smartlook.cloud' | Smartlook Assets Proxy host |
Installation and deployment
Image is available on Docker Hub.
- Run the image and configure environment variables according to your needs.
All variables are optional, default values are listed in the table above.
docker run --name="smartlook-relay-proxy" -d \
  # can be also set with "--env-file"
  -e LOGGER_LEVEL=<level> \
  -e MANAGER_HOST=<host> \
  -e WEB_SDK_WRITER_HOST=<host> \
  -e ASSETS_PROXY_HOST=<host> \
  -p <port>:8000 \  # mapping is optional, internally runs on port 8000
smartlook/relay-proxy:latest-
Create a new subdomain (e.g. sl.yourdomain.com) and point it to the container.
-
Replace URLs in Smartlook script (only next-gen tracking code is supported).
<script>
	window.smartlook ||
	  (function (d) {
	  var o = (smartlook = function () {
	    o.api.push(arguments)
	  }), h = d.getElementsByTagName('head')[0];
	  var c = d.createElement('script');
	  o.api = new Array();
	  c.async = true;
	  c.crossOrigin = 'anonymous';
	  c.type = 'text/javascript';
	  c.charset = 'utf-8';
	  c.src = 'https://<your-relay-proxy-host>/recorder.js';
	  h.appendChild(c);
	})(document);
	smartlook('init', <project-key>, { host: '<your-relay-proxy-host>' });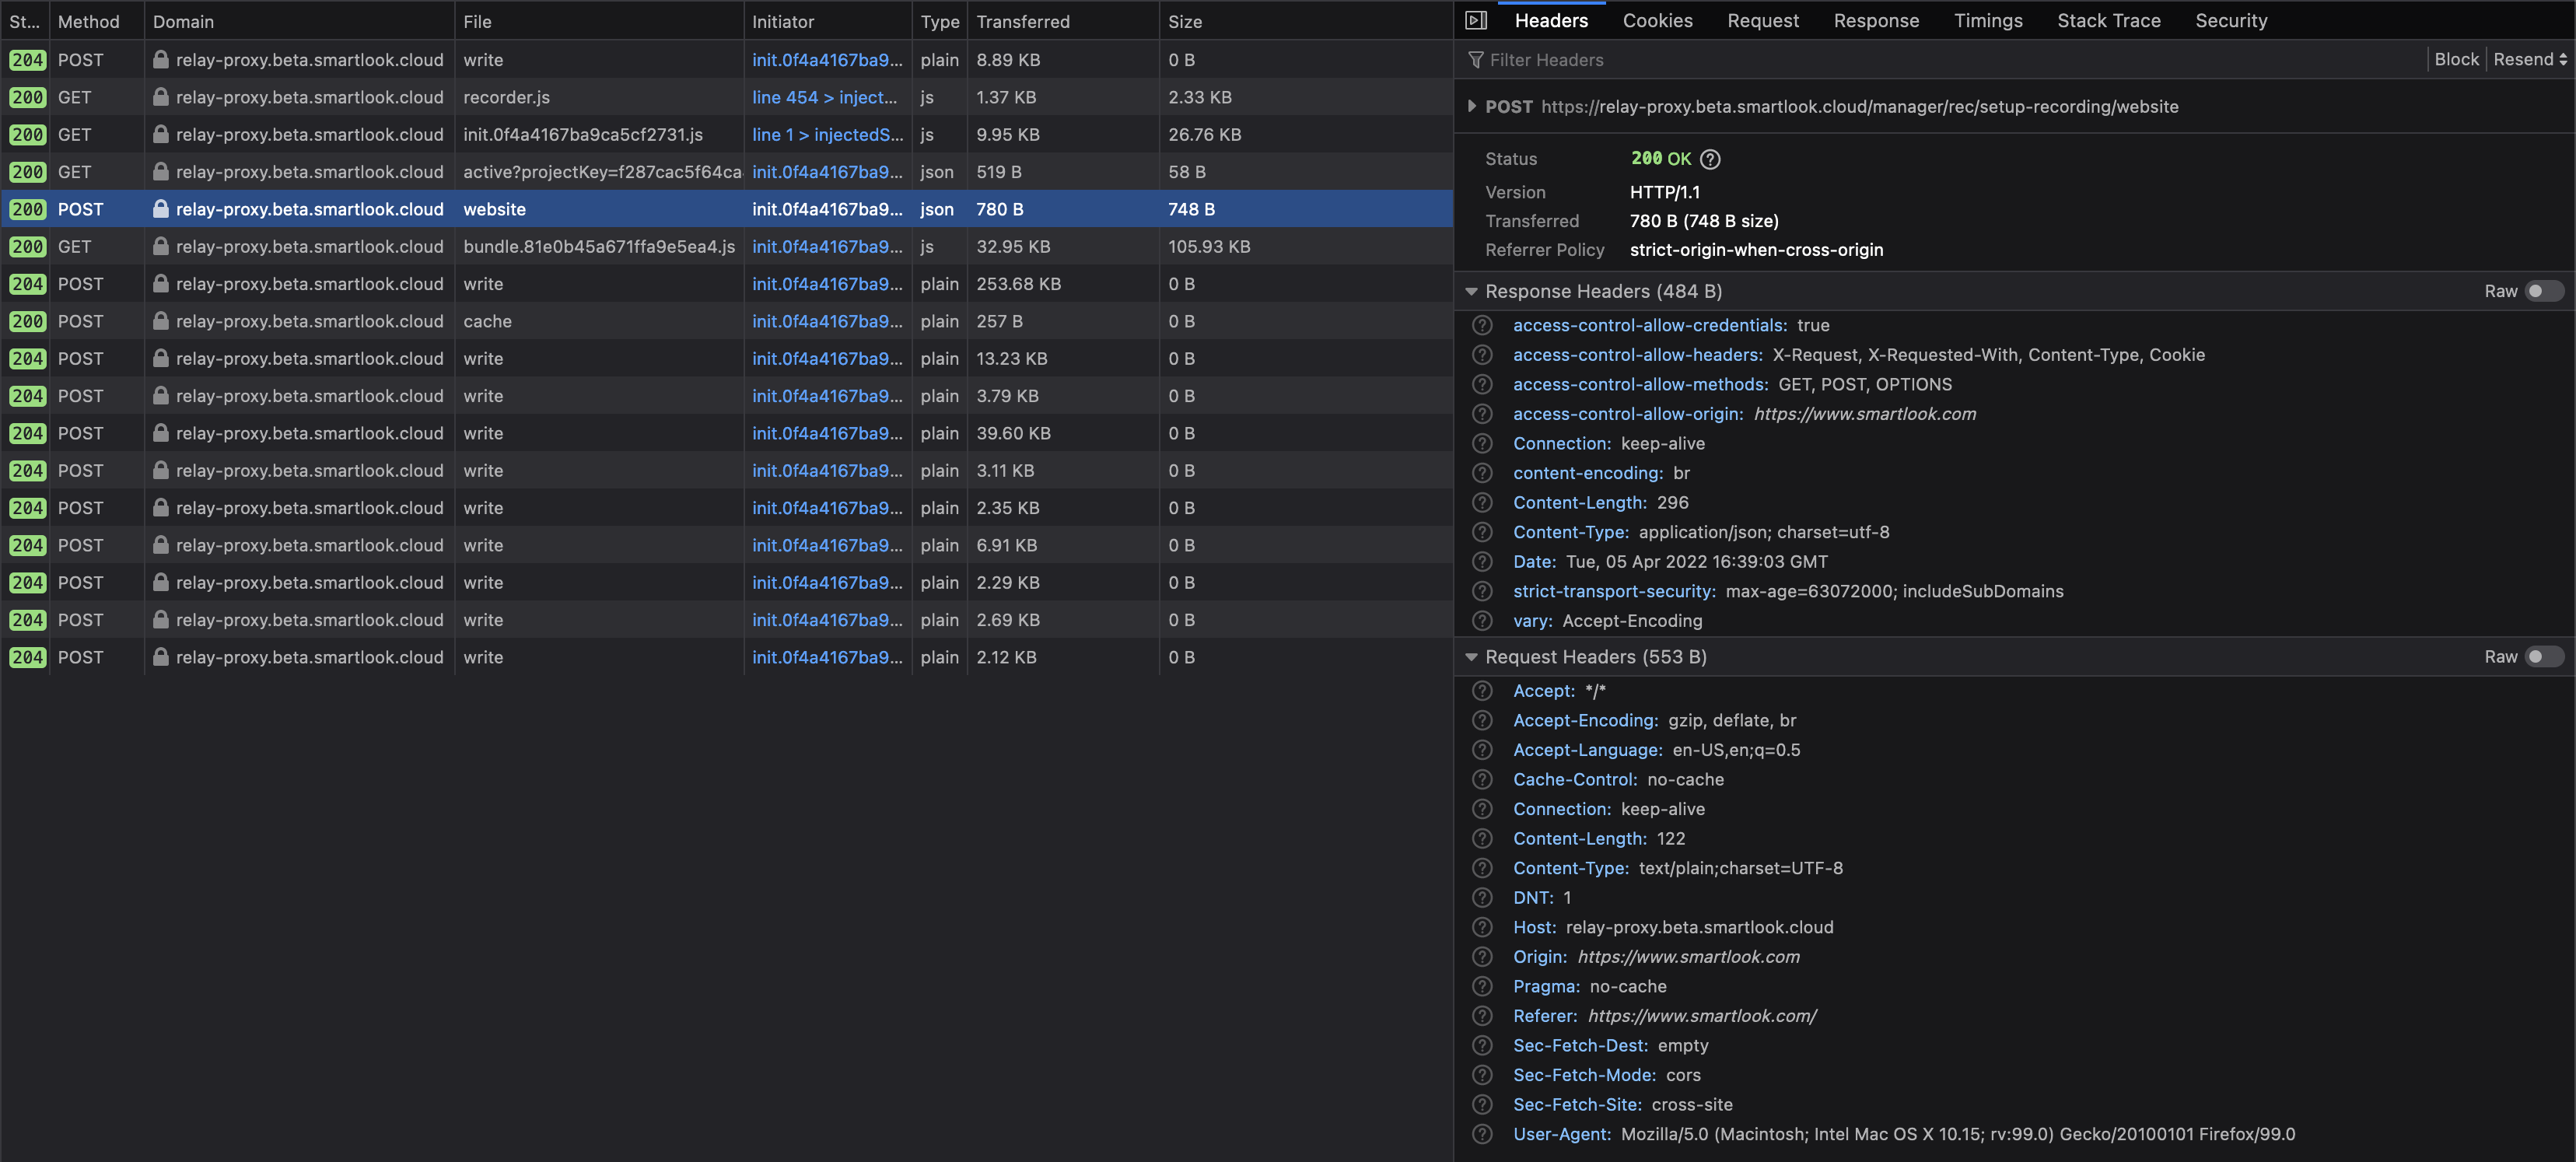
</script>- You're done! Visit your site and check the network tab to make sure the requests are sent through your subdomain.
Development
# See all available commands
make help

# Build and start development server (port 80 by default)
# Do not forget to configure environment variables in docker-compose.dev.yml
make dev # add `build=yes` for rebuild
License
See LICENSE.
Updated 11 months ago
Did this page help you?